Dubbo是阿里推出的服务治理框架,被国内很多公司广泛使用。关于它的介绍可参考http://http://dubbo.io.
本文主要介绍如何通过dubbo搭建服务治理环境,通过在本地搭建环境,有助于学习dubbo的源代码实现,毕竟可以边看源代码边运行调试。
Zookeeper的安装
dubbo是一个服务治理服务,那它必然有一个服务注册中心。dubbo的服务注册中心可以采用multicast、zookeeper、redis或simple注册中心。比较常见的是zookeeper注册中心。
首先下载zookeeper,下载之后首先要做的是进入它的子目录conf中,将zoo_sample.cfg文件名修改为zoo.cfg,因为zookeeper启动时会使用它。之后从终端进入它所在目录,运行
bin/zkServer.sh start。
之后可输入jps命令,若显示运行的进程中有
QuorumPeerMain,则证明zookeeper已启动。
运行bin/zkServer.sh stop停止zookeeper。
安装tomcat
下载tomcat 7。为什么是7,因为经试验tomcat 8和9两个版本在部署dubbo时都有问题。下载之后进入子目录conf中,将server.xml中配置的connector的port由8080改成其他数字,注意不要和已经被其他程序使用的端口冲突。
进入tomcat的子目录bin中,运行startup.sh(若是Windows则是startup.bat)。若启动过程不报错,且最后显示tomcat started,则证明启动成功。
运行shutdown.sh停止tomcat。
安装dubbo-admin
从http://dubbo.io/
或github上下载dubbo项目的源代码。dubbo-admin是dubbo的控制台,可以通过它查看和管理在dubbo上注册的服务。下载dubbo源代码之后,从终端进入dubbo文件夹。输入命令
mvn install -Dmaven.test.skip=true
将会编译整个dubbo项目,也包括dubbo-admin。

之后进入dubbo-admin的子目录target中,会发现多了一个dubbo-admin-2.5.7.war。将这个包拷到tomcat的webapps文件夹中。
按前面介绍的方法先启动zookeeper,再启动tomcat。之后在浏览器中输入localhost:8888/dubbo-admin-2.5.7。会看到如下界面。
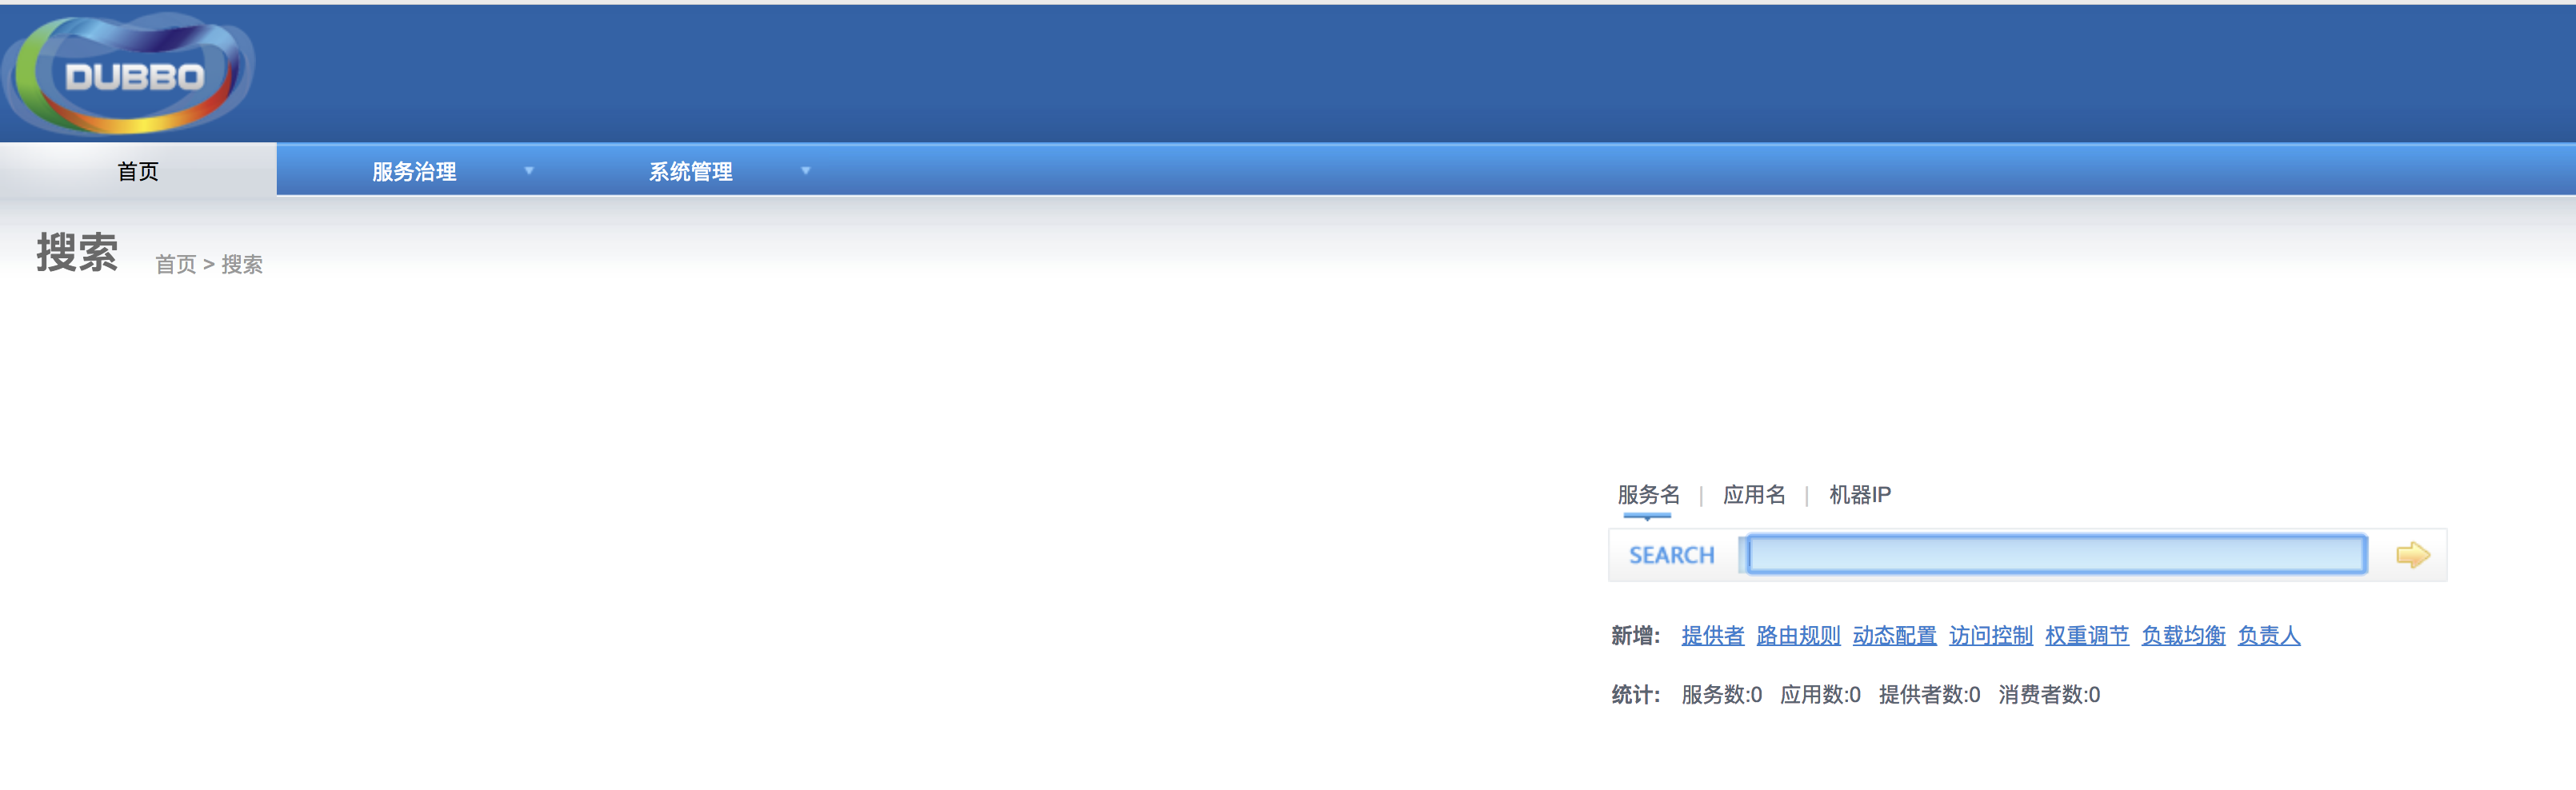
可以看到服务提供者和调用者都是0,说明还没有服务注册到zookeeper中。
注册服务生产者和消费者
为简化起见,本文采用IDE来构建服务。
首先是用intellij idea导入整个dubbo项目。
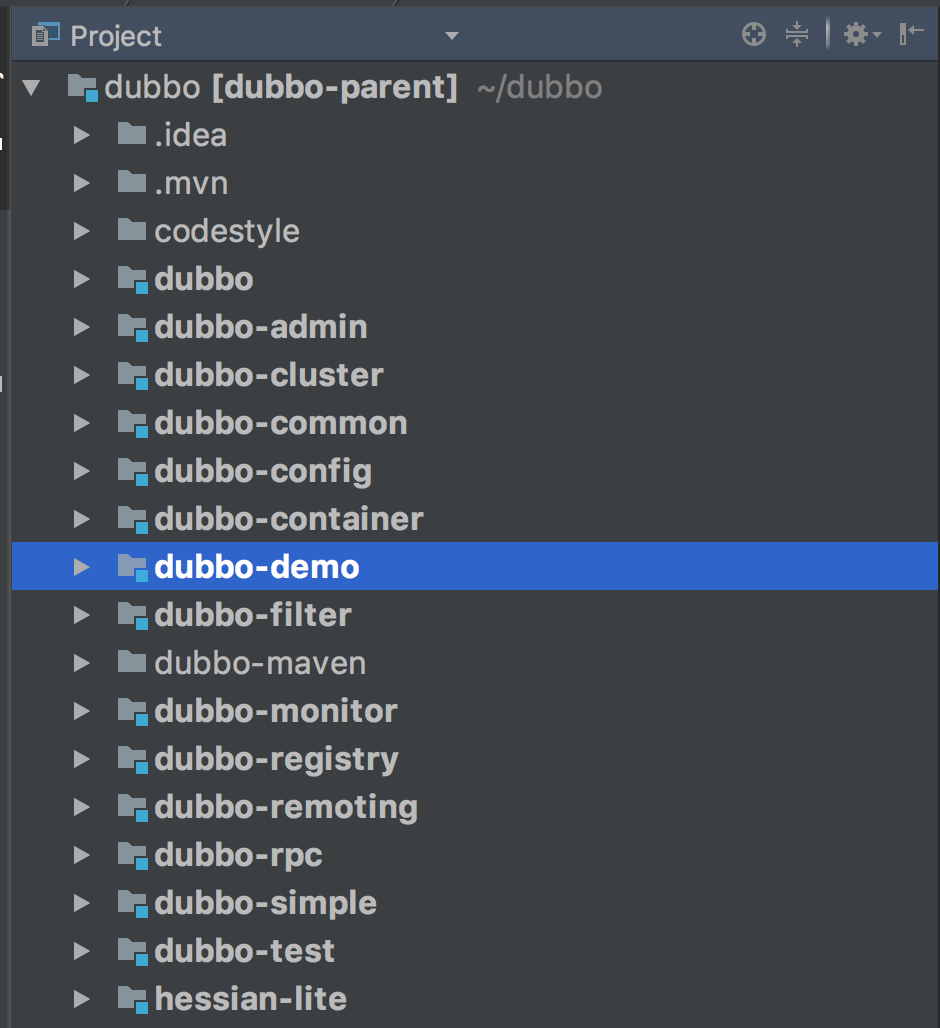
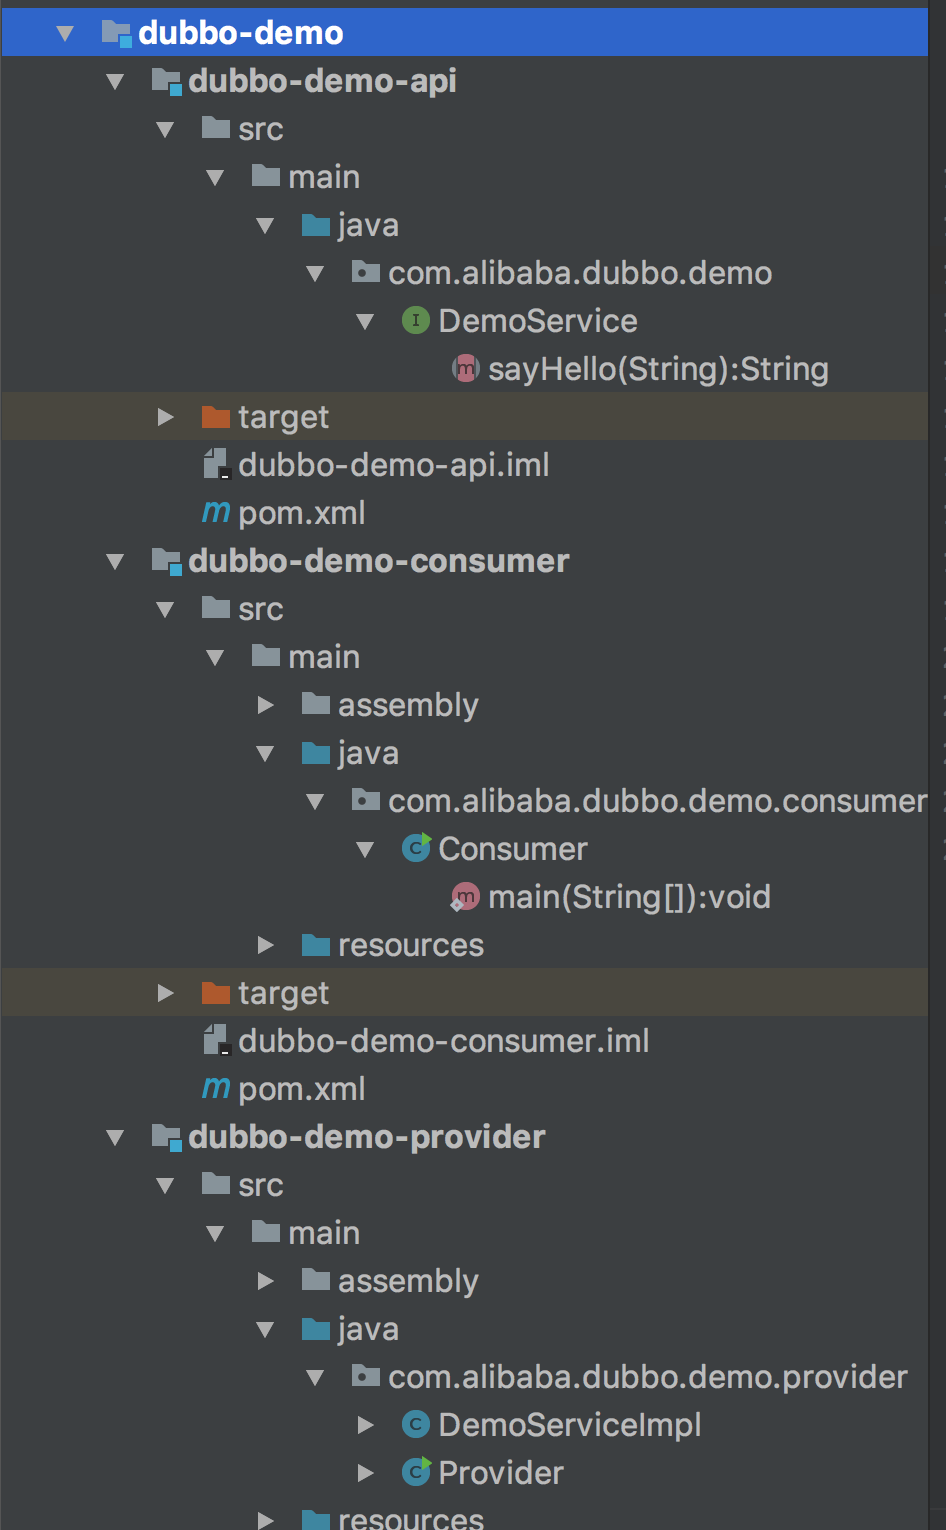
可以看到其中就有dubbo-demo项目,它主要有三个子项目构成。
其中远程调用的接口DemoService:
1 2 3 4 5 6 7
| package com.alibaba.dubbo.demo; public interface DemoService { String sayHello(String name); }
|
这个类之所以是一个单独的项目,是因为它需要被服务端和客户端同时引用。服务端会实现它:
1 2 3 4 5 6 7 8 9 10 11 12 13 14 15 16
| package com.alibaba.dubbo.demo.provider; import com.alibaba.dubbo.demo.DemoService; import com.alibaba.dubbo.rpc.RpcContext; import java.text.SimpleDateFormat; import java.util.Date; public class DemoServiceImpl implements DemoService { public String sayHello(String name) { System.out.println("[" + new SimpleDateFormat("HH:mm:ss").format(new Date()) + "] Hello " + name + ", request from consumer: " + RpcContext.getContext().getRemoteAddress()); return "Hello " + name + ", response form provider: " + RpcContext.getContext().getLocalAddress(); } }
|
客户端则可以通过配置,就像调用本地方法一样调用它。这也是RPC的主要目的之一。
服务端主类:
1 2 3 4 5 6 7 8 9 10 11 12 13 14 15 16 17
| package com.alibaba.dubbo.demo.provider; import org.springframework.context.support.ClassPathXmlApplicationContext; * Created by ken.lj on 2017/7/31. */ public class Provider { public static void main(String[] args) throws Exception { ClassPathXmlApplicationContext context = new ClassPathXmlApplicationContext(new String[]{"META-INF/spring/dubbo-demo-provider.xml"}); context.start(); System.in.read(); } }
|
客户端主类:
1 2 3 4 5 6 7 8 9 10 11 12 13 14 15 16 17 18 19 20 21 22 23
| package com.alibaba.dubbo.demo.consumer; import com.alibaba.dubbo.demo.DemoService; import org.springframework.context.support.ClassPathXmlApplicationContext; * Created by ken.lj on 2017/7/31. */ public class Consumer { public static void main(String[] args) throws Exception { ClassPathXmlApplicationContext context = new ClassPathXmlApplicationContext(new String[]{"META-INF/spring/dubbo-demo-consumer.xml"}); context.start(); DemoService demoService = (DemoService) context.getBean("demoService"); String hello = demoService.sayHello("世界"); System.out.println(hello); System.in.read(); } }
|
客户端最后一行代码是我加的,为了让客户端和服务端一样执行完调用之后不会退出程序。
此外服务端和客户端还需要在spring配置文件中做一些配置。服务端配置:
1 2 3 4 5 6 7 8 9 10 11 12 13 14 15 16 17 18 19 20 21 22
| <beans xmlns:xsi="http://www.w3.org/2001/XMLSchema-instance" xmlns:dubbo="http://code.alibabatech.com/schema/dubbo" xmlns="http://www.springframework.org/schema/beans" xsi:schemaLocation="http://www.springframework.org/schema/beans http://www.springframework.org/schema/beans/spring-beans-2.5.xsd http://code.alibabatech.com/schema/dubbo http://code.alibabatech.com/schema/dubbo/dubbo.xsd"> <dubbo:application name="demo-provider"/> <dubbo:registry address="zookeeper://127.0.0.1:2181"/> <dubbo:protocol name="dubbo" port="20880"/> <bean id="demoService" class="com.alibaba.dubbo.demo.provider.DemoServiceImpl"/> <dubbo:service interface="com.alibaba.dubbo.demo.DemoService" ref="demoService"/> </beans>
|
客户端配置:
1 2 3 4 5 6 7 8 9 10 11 12 13 14 15 16
| <beans xmlns:xsi="http://www.w3.org/2001/XMLSchema-instance" xmlns:dubbo="http://code.alibabatech.com/schema/dubbo" xmlns="http://www.springframework.org/schema/beans" xsi:schemaLocation="http://www.springframework.org/schema/beans http://www.springframework.org/schema/beans/spring-beans-2.5.xsd http://code.alibabatech.com/schema/dubbo http://code.alibabatech.com/schema/dubbo/dubbo.xsd"> <dubbo:application name="demo-consumer"/> <dubbo:registry address="zookeeper://127.0.0.1:2181"/> <dubbo:reference id="demoService" check="false" interface="com.alibaba.dubbo.demo.DemoService"/> </beans>
|
可见配置文件中就配置了我们之前启动的zookeeper,所以程序启动之后就可以注册到zookeeper中了。
现在先运行服务端的Provider的main方法,再运行Consumer的main方法。可以看到consumer端打印出了如下内容。

可见,客户端通过调用服务端的方法,返回了字符串并打印出来了。
再看dubbo-admin的页面:
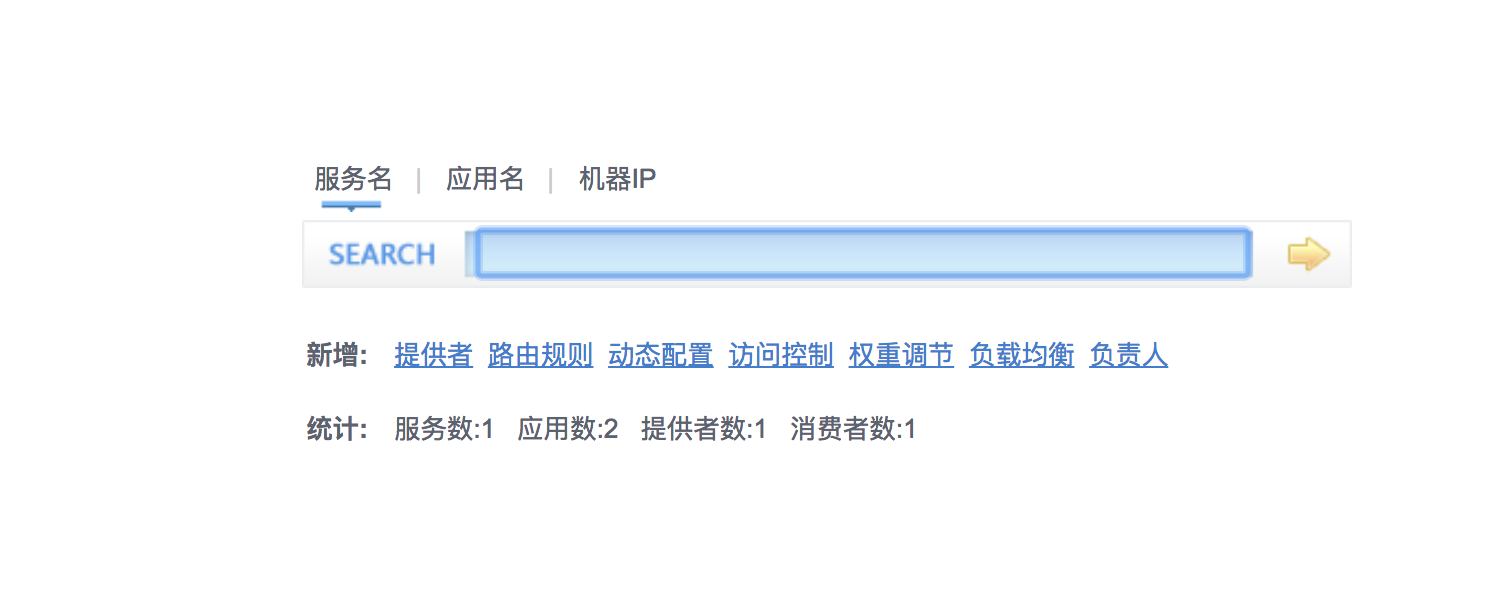
可见dubbo-admin中已经能看到注册进来的服务提供者和调用者了。
总结
本文采用了比较简单的方式,即从IDE中运行dubbo项目,虽然在实际运用中需要单独部署服务,但这种方式便于学习源代码。比如可以单步跟踪,看整个dubbo执行远程调用的流程。
